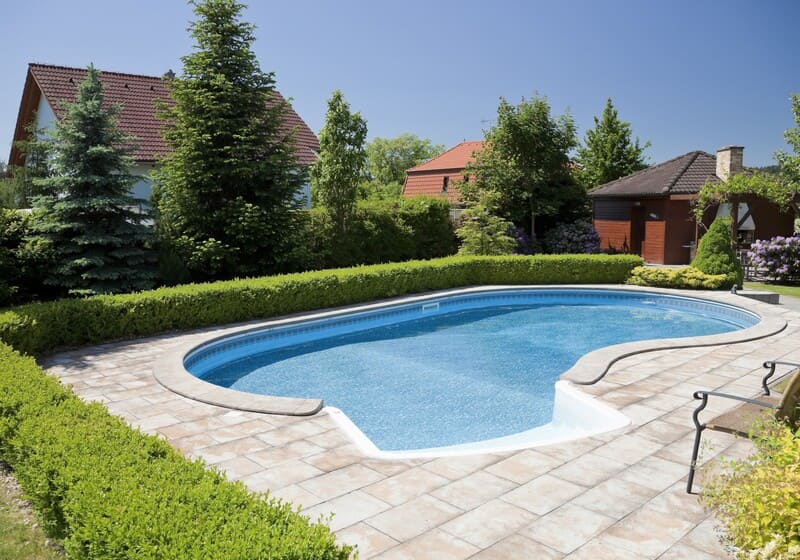
Opening the pool for summer can certainly seem like a daunting task. After all, you just never know what you might find under that cover, and it’s easy to let your imagination run wild. But we promise it’s not so bad! We’re here to give you a quick refresher course and break down the process into manageable chunks. All you’ll need is a friend to help you, start-up chemicals and a list of items you should have on hand from your pool’s previous season:
Get your start-up chemicals ready.
Most pools will need their chemical makeup adjusted after being dormant all winter, so a trip to your local pool supply store is probably in order. You can buy a start-up kit for about $30 that contains everything you need, including algaecide, water clarifier, chlorine, pH increaser, pH decreaser, metal sequestrant, alkalinity increaser and calcium hardness increaser. Depending on your pool’s size and unique chemical composition, you may need to go back for an extra dose of one or more of the above.
Clean off your pool cover.
Chances are, your pool cover is holding standing water, leaves and other debris. This is where your pool cover pump and soft broom will come in handy. Use the pump to siphon off any standing water and carefully push the debris off the surface with the soft broom. This way you won’t risk it accidentally falling into your pool water.
Take off your cover, clean it and store it.
Stand on one side of the pool and have your friend stand on the other. Together, lift the cover off carefully, inspecting as you go for any damage. If it still seems like it’s in good condition, you’ll want to rinse it off with a hose, lay it flat and allow it to dry. Once dry, you and your helper can fold the cover back on itself like an accordion and place it in a sealable container for safe storage.
Skim the pool water.
Grab your net and skim any leaves, twigs or debris off the water’s surface. This way it won’t get caught in your pool’s filtration system and clog it, and your pool will be easier to brush and vacuum later.
Time to de-winterize.
When you closed your pool for the winter, you should have installed winterizing plugs to keep water out while the temperatures were freezing. Walk around the pool and remove each plug. Bubbles should form as water flows back into the pipes.
Place your ladders.
Now is the time to reinstall all of your ladders, slides, diving boards and railings. You may also need to re-lubricate bolts and hinges on your diving board.
Top off your water.
The water level of your pool probably naturally went down over the course of winter due to the evaporation process. You’ll need to add a little water from your garden hose before you balance the chemicals. We recommend using a hose filter to keep minerals, metals and other contaminants out of the water.
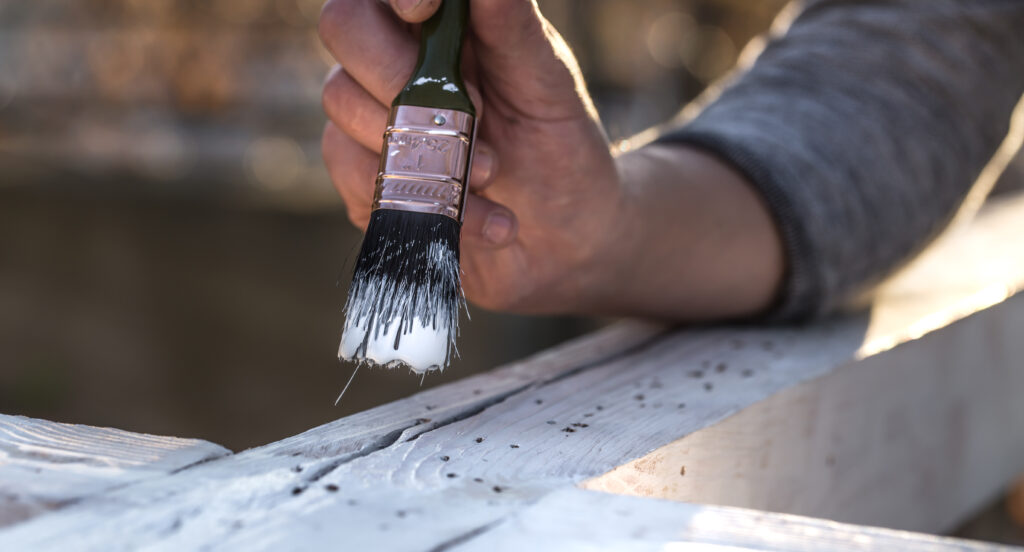
Set up your filter.
Use thread seal tape to reinstall the drain plugs in your pump and filter. You’ll also need to lubricate the O-rings with a pool gasket lubricant to protect them. If you see any cracks in O-rings, they’ll need replaced right away. (Luckily, they’re only $5 to $20!)
You’ll then open the return side valves, flip your circuit breaker and turn on the pump. Check that water flows through and then switch your multiport valve to the filter setting.
Balance the water.
Metal levels in your pool may have increased over the course of the winter, and as mentioned above, using your garden hose may have made metal levels even higher. You’ll want to add a metal sequestrant to the water and then proceed to test and balance your pool’s chemicals. Go about adjusting alkalinity first, then pH and calcium hardness.
Brush and vacuum.
Now it’s time to buckle down and brush. This part can be tedious, but your pool and your pool guests will thank you. Vacuum the bottom of the pool thoroughly to pick up sediment and algae, then brush the sides to get at any other areas that are looking a little green. Once your pool is clean, it’ll easily adapt to the chemicals and chlorine shock you’ll add next.
Shock the water.
To eliminate any bacteria and algae spores that may have formed over the winter season, you’ll need to reach breakpoint chlorination. To achieve breakpoint chlorination, you’ll need to double shock your pool by adding two pounds of chlorine shock per 10,000 gallons of water. Be sure to wear safety goggles and chemical-resistant gloves, and avoid pouring shock directly into your filter. Instead, slowly walk around the perimeter of the pool as you pour in the shock.
Run the filter for 24 hours.
We wish we could tell you to jump right in, but unfortunately, it’s better for your health and your pool to wait. You’ll want to allow your filtration system to run for at least 24 hours to mix up the shock and chemicals and eliminate any straggling algae and debris.
Call National Property Inspections Today to Schedule Your Inspection!
Wondering if your pool is up to snuff? Call National Property Inspections! Our inspectors can assess your pool’s systems and help determine if they’re in great working order. Call today to book your appointment.