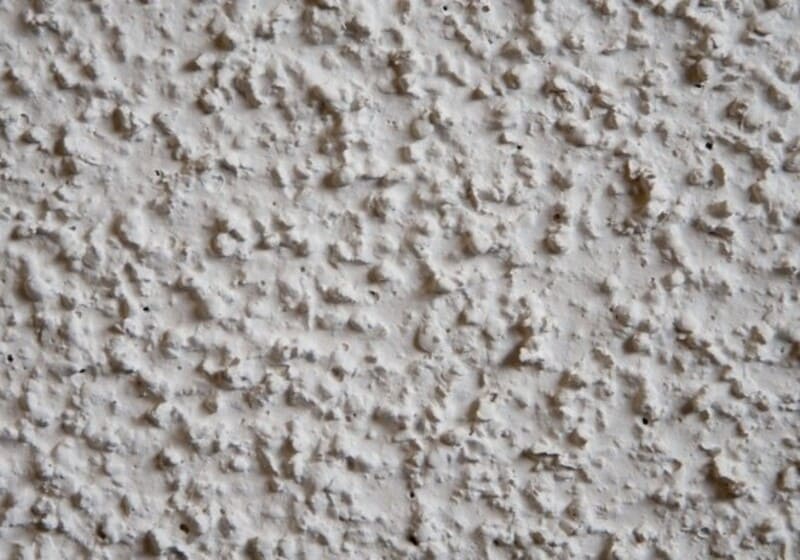
Popcorn ceilings are just one of those things. Some of us barely notice them, while others put them in the same category as fake wood paneling when it comes to outdatedness. If you’re of the latter opinion, the good news is that you don’t have to live with your popcorn ceilings forever. While it can be a pretty messy task, you can still remove all that texture with a little DIY know-how.
When in doubt, check for asbestos!
For any popcorn ceiling installed before 1980, you run the risk of dealing with asbestos, a common cause of lung cancer. You can purchase a testing kit for around $50 and send a small sample of scrapings to a lab for definitive results. Be sure to follow the directions in your kit carefully. Even a small scraping can introduce a good number of (potential) asbestos particles to the air.
You can also hire a local professional asbestos testing service. This can be considerably more expensive, but quite a bit more comprehensive since they’ll test multiple areas, air quality and more. If your home was built long before 1980 and you’re not sure of its renovation history, a professional test is well worth it for the peace of mind.
If your test does come back positive for asbestos, your popcorn ceiling project will need to be put on hold. You can hire a professional removal team or cover your ceiling with tongue-and-groove planks or new drywall. With a cover-up, you’ll be looking at a painting-only project instead of a scraping-then-painting one.
Prepare your space for a rather large mess.
We’re not going to beat around the bush: removing a popcorn ceiling can turn your space into a gloppy mess in minutes. You’ll want to invest in drop cloths . . . lots of drop cloths. The plastic variety is best because you can scrunch it up, trapping the mess inside, and just throw it away. Cover rugs and carpets and hang drop cloths in doorways, making sure they reach the floor.
It’s best to remove any furniture from the space you’ll be working in. If that isn’t possible, you’ll want to group it together in one area of the room and be sure it’s completely covered with drop cloths. You can move your furniture cluster around the room as needed while you work in different areas.
Prepare yourself.
Did we mention that removing a popcorn ceiling is a messy job? Wear old clothes and shoes. If your skin is sensitive, you may want to wear clothing that covers your arms and legs—you’re almost guaranteed to be up to your elbows in damp white gunk once the scraping begins. You’ll also need to have a dust mask that securely covers your nose and mouth on hand for the sanding phase.
Remove light fixtures and ceiling fans, protect light cans and cover electrical boxes.
Trust us, you won’t want to skip these prep steps. Taking the time to cover or remove anything on your ceiling will help you avoid needing replacements in the long-run when the wet popcorn inevitably starts flying. You’ll need to remove light fixtures and ceiling fans, and stuff newspaper or rosin paper in any light cans. You’ll also need to make sure you turn off the circuit breaker or fuse box connected to those lights. If there are any electrical boxes in the ceiling, you need to cover those as well. Use painter’s tape to keep the wiring dry.
Mist the ceiling with a pump sprayer.
To eliminate most of the dust that would get kicked up from scraping popcorn dry, you’ll first mist a four foot by four foot area of the ceiling with water. An inexpensive pump sprayer from the gardening department of your local hardware store will work nicely. Only mist lightly—you don’t want to oversaturate—then let it soak for about 15 minutes before you proceed with scraping. By this time, the texture should have softened. If it hasn’t softened yet, you’re probably dealing with a painted ceiling. Doing a little dry-scraping first can help the water penetrate more effectively.
Start scraping.
Remember to wet the next section you plan to work in right before you start scraping the one you’ve been waiting to work with. This will help you get into a rhythm and work faster. Working in the small section you’ve misted with water, start scraping. You can hold a mud pan up to catch much of the wet popcorn before it hits the floor. The edge of the pan is also handy for cleaning your scraper when it gets covered.
Sand the ceiling to prep for painting.
Your last step is going to be to sand the ceiling so that you have a smooth surface for paint application. You also may have small gouges or dings to fill in. And that’s it!
Call National Property Inspections today to schedule your inspection.
Our inspectors have the expertise to access all of your home’s major systems. Find an inspector near you today to order an inspection and receive your full report.