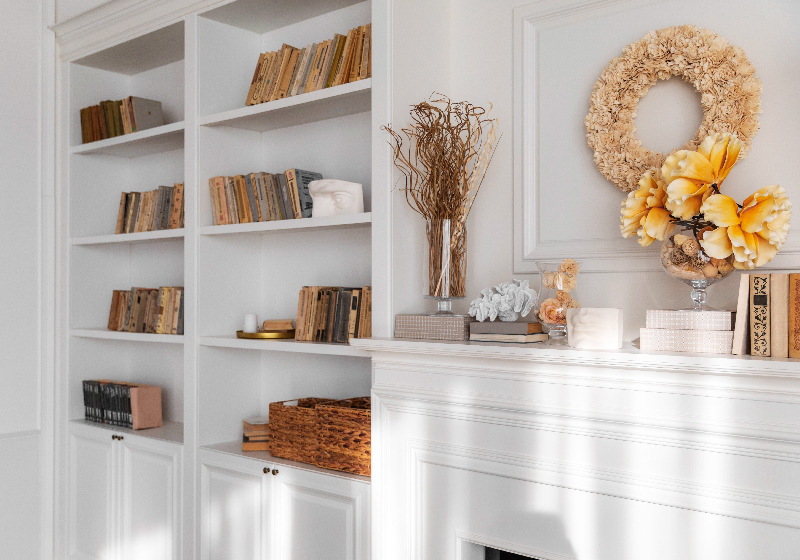
Have you been wondering about what to do with that stack of novels? A built-in bookshelf may just be your solution! It can provide you with a place to store your books out of the way and make them easier to grab. You’ll also have a great conversation piece for your next get together.
Tools You’ll Need
You may find yourself needing some additional materials if you want a more elaborate shelving style, but in general, here’s what you’ll need:
If you buy your boards pre-cut, you may not need the saws, and of course you can always use a hammer in lieu of a nail gun.
Measure Your Project
Measuring is always the most important first step before you start sawing and nailing away at your project. With either some tape or a carpenter’s pencil, mark an outline of the area you’ll be building in. Measure away from any moulding so you don’t miscalculate and end up having to start all over. You’ll have to remove moulding or baseboards that are in the way, so keep that in mind when choosing a location for your bookshelf.
Mark Out Your Supports
To make your bookshelf a “built-in” you need to secure it to the wall it’ll be against. Using a stud finder, mark the studs that are inside your taped off area. The locations of the studs may alter your design plans. If you find they’re farther apart than you initially thought, then you’ll have to adjust the width of your shelves. Don’t try to get by with attaching to one or no studs. You don’t want to have a bunch of books and wood come crashing down.
Build Your Frame
Next, measure out the width between the end panels of your bookshelf. Attach the back of the shelf unit to the end panels and then mark the locations of the shelves. If you’re going to make caps or covers at the top and bottom, move the last shelves in a bit to attach them to. Then you can start putting the shelves at the spots you marked.
Attach to the Wall
Once you’ve assembled your shelf frame, you can then attach it to the studs in your wall. You’ll want to be sure you use a screw long enough to reach through the back of your shelf, through the wall, and into the stud. Use multiple screws to ensure that the whole unit is secured and won’t risk tipping over.
Finishing Touches
After you’ve put up your new shelves, it’s time to put the last few decor pieces on. You can choose to paint the shelves the same color as your wall, or opt for something that’ll make them pop more. Reattach any moulding along the top or bottom to give a more continuous look to the whole thing. You might find that putting on some doors on the bottom half will give you a more minimalistic look and help hide additional clutter. Then it’s time to decorate with your favorite books or art pieces!
Call National Property Inspections today.
Your local NPI inspector has the professional training and experience to help assess the condition of your home. Find your local inspector today to schedule your inspection.


