A hidden fire hazard that’s often overlooked is the threat posed by clogged dryer vents. In fact, clogged dryer vents are the cause of 17,000 house fires each year. However, these fires are completely preventable by clearing your dryer’s ventilation systems on a regular basis as doing so not only helps to prevent fires but improves the efficiency of your dryer as well. Luckily, the process of cleaning your dryer vent is an easy one that does not require the assistance of a professional.
Supply Checklist
Before we begin, you’ll want to make sure that you have all necessary supplies on hand. All you’ll need is a vacuum cleaner, preferably one with a hose extension piece, and a cleaning brush. For starters, you’ll want to move your dryer away from the wall to locate the dryer vent. This is usually located near the bottom of the machine either in the back or side of the appliance. From there you’ll want to identify the short exhaust pipe to the machine. Finally, you’ll want to ensure that you unplug the appliance for safety purposes. Now that everything is in position, you’re ready to clean the dryer vent.
Cleaning Your Machine
You can clean a clogged dryer vent in just three easy steps. Step one is to remove the vent pipe from the dryer. The vent pipe is the long foil-like connection piece that goes from the bottom of the dryer to the wall. Simply grab and gently pull the vent pipe away from the vent to release. NOTE: some machines have release clips to unscrew before the vent pipe will give way. If the pipe isn’t coming out easily, make sure to check for a clip. Once the vent pipe has been removed, you’re ready for step two.
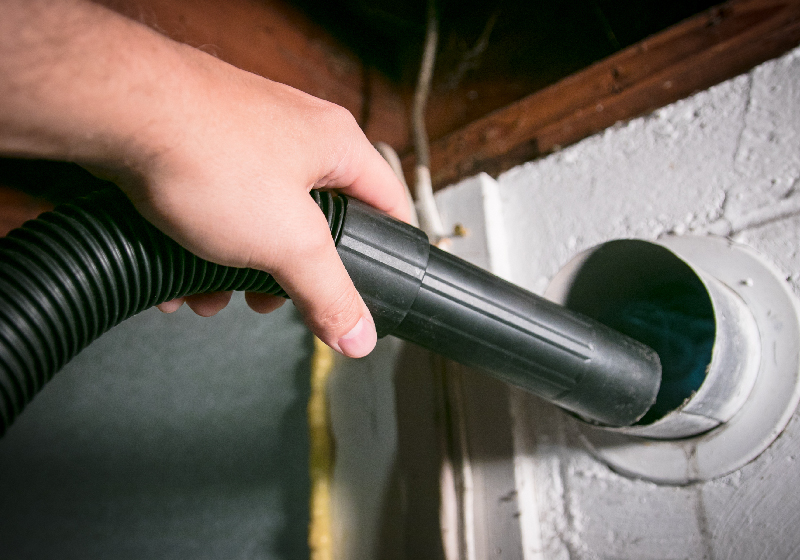
The next step of the process involves your first tool, your vacuum cleaner. Now that the vent pipe is off of your dryer take the hose attachment for the vacuum to suction out any residual lint in the machine’s now open vent. This is the most important phase of all three steps as the clearing of lint left clogging the machine is what causes the fire hazard. You’ll want to make sure to do a thorough job. If you’re having trouble removing the excess debris, you’ll need to utilize tool number two, your cleaning brush. With your cleaning brush in hand, do a deep clean of the vent and surrounding areas.
Once the vent is fully clean, you’re ready for step three, reattaching the vent pipe. To fasten the vent pipe to your dryer, gently secure the piping back to the vent (it’s just like step one, but in reverse). From there you’ll want to guarantee that the connection is solid. To do so run the dryer for a few minutes to see if you notice any excess heat coming from the vent pipe. If you do, the connection is not secure. If this occurs, try to straighten the vent pipe over the dryer’s ventilation system and repeat step three.
To recap:
It’s that easy!
Order a Home Maintenance Inspection from NPI
Ensure your home is safe from fire hazards. Visit npiweb.com to find your nearest inspector!


