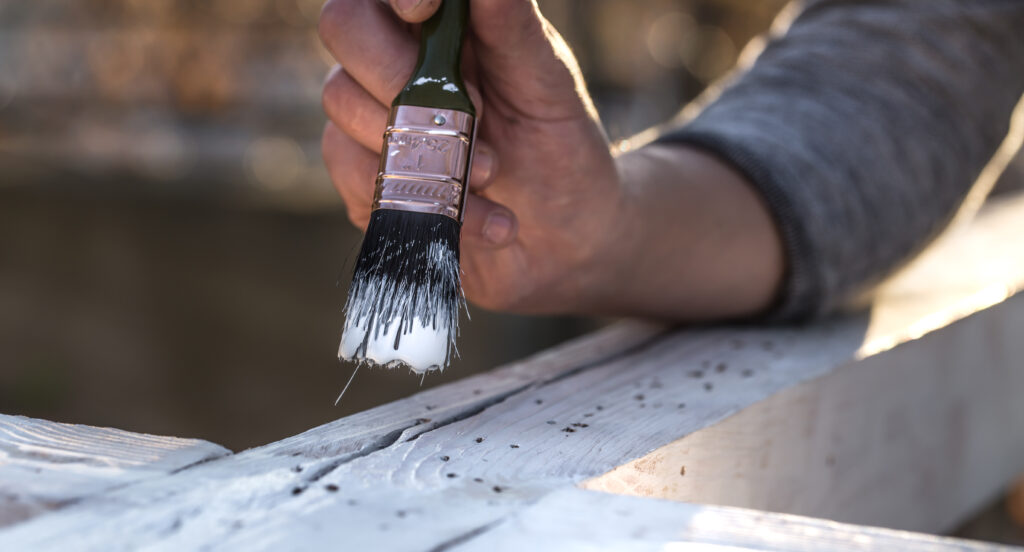
Re-caulking bathroom surfaces in your home is a relatively easy process if you have the right tools. If you’ve never been through the steps of this process, there are a few items you will want to have on hand before you begin. The main supplies that you will want to make sure to add to your toolbox include: a caulking gun, a utility knife or a plastic razor scraper, painter’s tape, a sponge, a multipurpose cleaner (preferably with bleach) and of course plenty of paper towels.
The first step of this procedure will require that you remove the existing caulk and clean the residue and dirt from the area lining your bathtub, sink, and any other bathroom surfaces you hope to replace. Removing the existing caulk is a crucial step, as adding new caulking on top of the old may create bubbling that could be the cause of leaking bathroom appliances. Not to mention, the addition of new caulk over old is often unsanitary and unsightly–mildew and dirt often get caught in these narrow crevices.
To remove the existing caulk, you will need to use your utility knife or plastic razor scraper to help loosen its hold. By using these tools, you will avoid making scratches to surrounding tile or marble surfaces. Once the old caulk has been removed, you’ll want to thoroughly clear the area of any existing debris or dirt. To accomplish this, use your multipurpose cleaner and sponge to gently scrub the area till it is free of grime. After completing this step, wait 15-20 minutes to ensure that everything has dried. To expedite this process, you can use a hairdryer to dry the area recently cleaned.
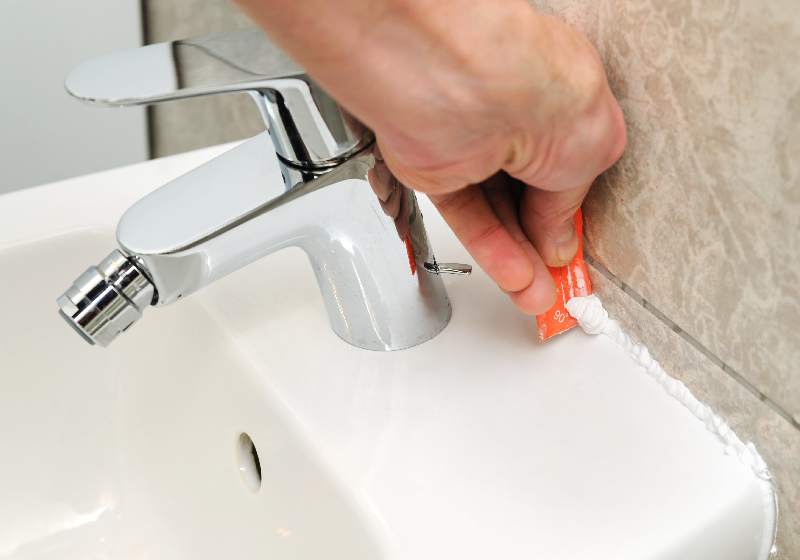
The next step in the process is optional, but will help you with precision. For this portion, you’ll utilize your blue painter’s tape. With your painter’s tape, you will create an outline that is no more than 3/8 of an inch from top to bottom to make a frame for the caulk. Once you’ve made this framework for your caulk, it’s time to apply the caulk with your caulking gun or device.
Overall, the application of caulk is fairly easy. With your outline in place, apply the caulk to the ring around your tub or sink at a 45-degree angle. It’s important to keep a steady pace and hand while firmly guiding your caulking gun around the circumference to establish a proper sealant. Failing to do so may result in a broken seal due to air bubbles if you’re applying the caulk too quickly. If you apply the caulk too slowly, you’ll produce an overabundance of caulking material, meaning that you will have to do more work to complete the last step of the process.
Lastly, you will want to smooth the caulk you applied with a paper towel or lint-free towel to remove any excess material. It is best to complete this step quickly, as you do not want additional caulk to set up in areas not intended. At this point you are safe to remove the frame created with your blue painter’s tape, capturing the extra caulk in the process. Remove the painter’s tape very carefully so as to not disturb the areas freshly treated with caulk. After removing the painter’s tape, allow at least 24 hours for the caulk to fully set up before using the sink or bathtub.
For this and more helpful NPI tips, please follow our blog at: npiweb.com/blog.