Becoming a new homeowner can feel intimidating to some. Between maintaining your yard, keeping major systems in good repair, and identifying costly projects like installing new flooring or countertops, there’s certainly a learning curve that comes along with the homeownership experience. With that said, veteran homeowners will undoubtedly say the experience is worth it!
Over time, new homeowners naturally have to pick up many skills to keep their property in tip-top shape. Starting with simple fixes, their knowledge of home systems tends to expand until they’re ready and confident enough to DIY a new deck, handle a moderate plumbing repair, or dive into any ambitious “handyman” job. Understandably, these types of projects can still feel far-off for most newer homeowners, but there are options for those looking to get their feet wet with a more approachable DIY job.
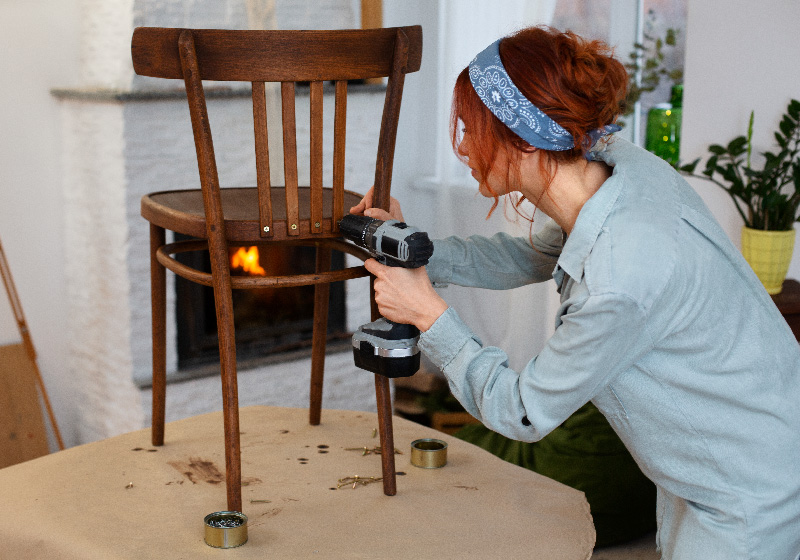
Refinishing wooden furniture is a fabulous way to give a piece new life, and although this task requires time commitment and determination, the basic knowledge required is not very demanding. So, if you’d like to take your first steps in becoming a DIY Pro around the house, here’s a basic outline on how to refinish your furniture.
Step 1: Clean
Once you’ve identified a piece of furniture that you’d like to refinish, start off by thoroughly cleaning it with dish soap and warm water. Whether a treasured antique or a pawn shop find, wood furniture can gather plenty of unnoticed dirt and grime over time. For items with complex scrollwork or other carvings, use a paintbrush to get into the hard-to-access crevices as well before drying with a microfiber towel.
Note: Some pieces that might have seemed like good candidates for refinishing prior to cleaning can have serious damage and imperfections revealed during this point in the process. With a clear view of your furniture, don’t be afraid to change course if the item doesn’t seem to be worth the effort after all!
Step 2: Repair
After cleaning, you should have a better view of the full condition of the piece, including every scratch and wobbly leg. While every furniture piece is different and every repair will have its own solution, it’s usually best to correct any nagging issues before stripping and sanding to ensure what you’re working on is stable. For example, using wood filler or wood putty to address cracks or other imperfections can be a great option for simple repairs (see guides from trusted sources like the Spruce).
With the piece repaired and stable, you should then move locations into a well-ventilated work space like a garage or other outdoor area (if you haven’t set up there already). Whether you’re opting to sand or rely mostly on a chemical stripper, both methods riddle the air with toxins that you don’t want stuck inside your home. Before stripping, secure sufficient eye goggles, chemical-resistant gloves, and a mask or respirator to stay safe! For more on practicing good home ventilation, read our previous article on the topic!
Step 3: Strip
If you’ve reached this point in the refinishing process – congratulations! You’ve made it to the point of no return. Easily the most time-consuming part of any refinishing project, stripping off the old finish is very messy, so prepare by laying tarp and, if at all possible, dedicate plenty of time so that you can remove the entire finish in one go. Stripping can cause a very large mess, so it’s best to save the extra hassle by blocking out a larger amount of time rather than splitting it into multiple sessions.
Stripping techniques broadly can be broken up into two methods: sanding and using a chemical stripper. When sanding, consider using an orbital sander to cut down on time (see the Family Handyman’s orbital sander guide for more), but in either case, expect to switch over to hand sanding or chemical stripper to remove pesky or hard-to-access areas.
When using a chemical stripper, it’s very important to follow directions of your chosen product carefully! Chemical strippers can come as a liquid, spray, or gel and, while they’re the quickest stripping method, they also lead to a ton of gunky, messy residue. Use a putty knife or steel wool to work out the finish, and be sure to clean and dry thoroughly. Often, turpentine or mineral spirits are a great option here!
Step 4: Seal
As unbelievable as it may sound, you’re already nearing the finish line now that your furniture is stripped and you have an even, smooth surface to work with! Use sealant to create a smooth base for either stain or paint to adhere to as well as protect your piece from future damage. After letting it soak and wiping off the excess with a clean cloth, most experts recommend sanding down the surfaces again to ensure as smooth a surface as possible for the final steps.
Step 5: Stain or Paint
When staining or painting wooden furniture, don’t rely on a sample or another piece for an accurate indicator of color. Instead, locate an inconspicuous area of the furniture as a test section. Once you’re happy with your choice, apply the stain or paint to your furniture with a foam brush rather than a paint brush. Note: Paint brush application can lead to uneven/ugly brush strokes in the final product whereas foam brushes allow for near professional-quality results!
Stains can be water-based, oil-based, gel-based, or two-in-one products with finishes included. As a final point, when it comes to considering paint options, it is smart to take the quality and value of your furniture into account. Some older antiques can lose value if stripped and re-stained, while newer pieces made of cheaper materials can be repainted without worry (often covering up unsightly imperfections!).
Step 6: Finish
Finally, you’re ready to apply your finish, but which type is best depends greatly on the needs of your selected piece of furniture. Of the most important factors that determine the best finish for the job, consider your desired “look,” the type of wood you’re working with, and the durability needed (whether the piece will be used often or is in a highly trafficked area of the home).
Refinishing your furniture can be a demanding job, but if you’ve done each step carefully, followed the directions stated on your products closely, and worked with protecting your health in mind, you should be able to enjoy the fruits of your labor with a fully revitalized furniture piece! For some, there is no satisfaction that matches bringing a beat-up, forgotten chest or dresser into their home and revealing its full potential with this type of project. So, if you’ve been bit by the DIY bug, best of luck! Happy refinishing!
Even the handiest, DIY expert out there will miss out on many costly maintenance issues in homes new and old. If you’re buying a new house or want a check up, contact your local NPI home expert to schedule an inspection today!